At first glance, floating shelves seem like a simple design choice – a sleek, space-saving solution that fits...
- There are no more items in your cart
- Shipping
- Total £0.00

How to properly install a shelf – a complete guide from preparation to styling
Installing a shelf might seem like a simple DIY task, but doing it right can make a huge difference in both how it looks and how long it lasts. Shelves aren’t just functional pieces; they also play a big role in your home’s style and atmosphere. Whether you’re mounting modern floating shelves, practical bracketed ones, or eye-catching live edge wood shelves, proper installation ensures stability and beauty. Taking the time to plan, understand your walls, and use the right materials prevents damage and accidents. This guide will take you step-by-step through everything you need to know, from preparation and choosing tools, to installation and styling ideas – so you can confidently add the perfect shelf to your space.
List of Contents
- Introduction
- Tools and materials needed
- Understanding your wall type
- Installing floating shelves step-by-step
- Installing bracketed shelves step-by-step
- Installing live edge shelves step-by-step
- Common mistakes to avoid
- Styling tips after installation
- When to call a professional
- Final thoughts
Tools and materials needed
Before starting, gathering the right tools and materials is essential. Rushing without preparation can lead to mistakes or even damage to your walls. At minimum, you’ll need a tape measure and pencil for marking exact spots, a spirit level to keep everything straight, and a drill with drill bits suitable for your wall material. You’ll also need screws and wall plugs or anchors that match your wall type to secure your shelf safely. For plasterboard walls, a stud finder is invaluable for locating wooden studs behind the drywall for stronger fixing. It’s also good to have a screwdriver or a drill driver handy to tighten screws quickly. Don’t forget to protect your floor and furniture with dust sheets or masking tape before drilling begins to keep your space clean.
Understanding your wall type
One of the most critical steps in shelf installation is identifying what kind of wall you’re working with because it determines the fixings you can use. Different walls require different approaches for a secure hold. The most common types are plasterboard (also called drywall), solid brick or concrete, timber stud walls, and tiled walls. Plasterboard is lightweight and hollow inside, so you must use hollow wall anchors or toggle bolts; ideally, screws should go into the studs behind. Brick and concrete walls are very strong, so using masonry plugs and heavy-duty screws is necessary to hold weight properly. Timber stud walls allow you to screw directly into the wooden studs, offering very strong support. Tiled walls are delicate and prone to cracking if drilled incorrectly, so a tile drill bit and slow, careful drilling are essential. Understanding your wall means choosing the right hardware and avoiding damage or weak installations.
Installing floating shelves step-by-step
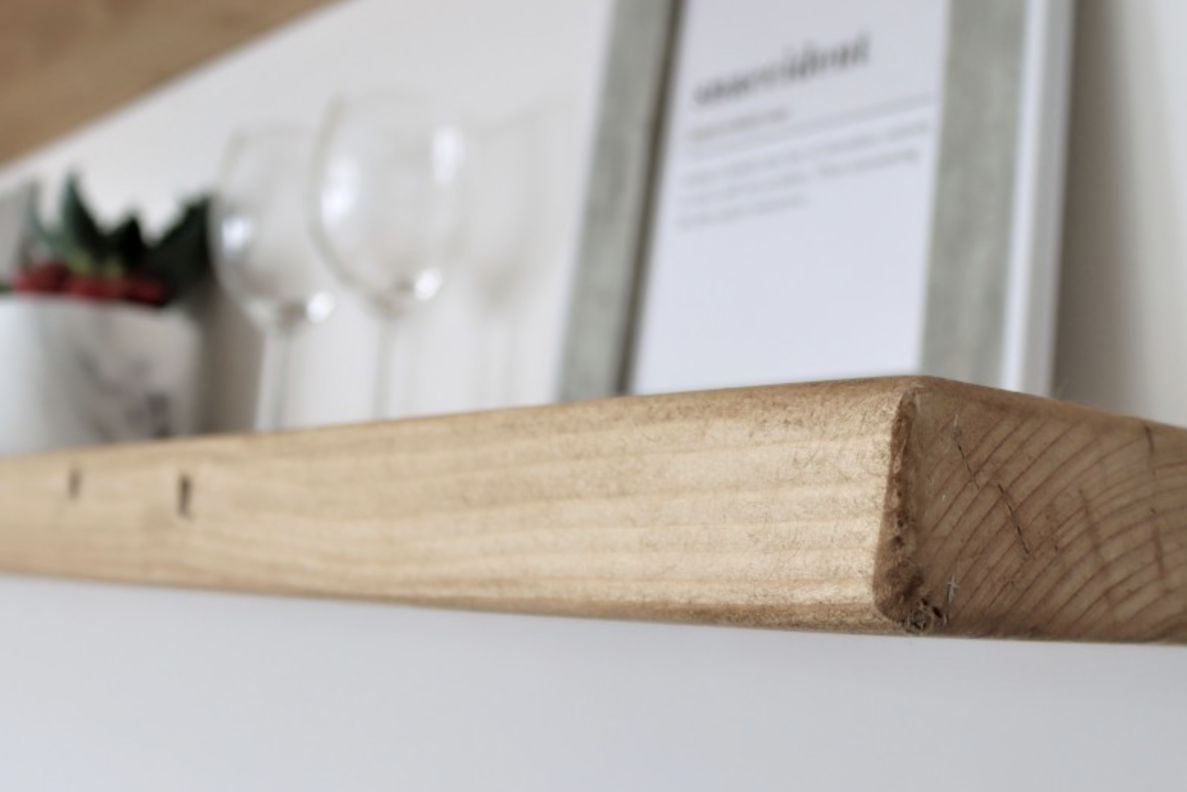
Floating shelves are highly popular because they create a clean, minimalist look with no visible brackets. Because the brackets are hidden inside the shelf, precision is key to a professional finish. Start by measuring carefully and marking a straight horizontal line on your wall using a spirit level. Next, measure the bracket holes on your shelf and transfer those marks onto the wall. Drill pilot holes using the right drill bit for your wall type and insert wall plugs or anchors to provide strong support. Securely screw the brackets into the wall, making sure they’re perfectly level. Then slide your shelf onto the brackets and double-check alignment. Take your time here – even small errors will be very noticeable with floating shelves.
Installing bracketed shelves step-by-step
Bracketed shelves are more traditional but just as stylish and functional. They’re strong and visible, making them a design feature as well as storage. Plan where you want your brackets, usually a few centimeters in from each shelf end for balance and support. Mark the wall through the bracket holes, drill and insert the correct wall plugs. Screw the brackets firmly into the wall and place your shelf on top. If your brackets allow it, you can secure the shelf to the brackets from underneath with screws for extra stability. Bracketed shelves are excellent for heavier items and practical spaces like kitchens, garages, or offices.
Installing live edge shelves step-by-step
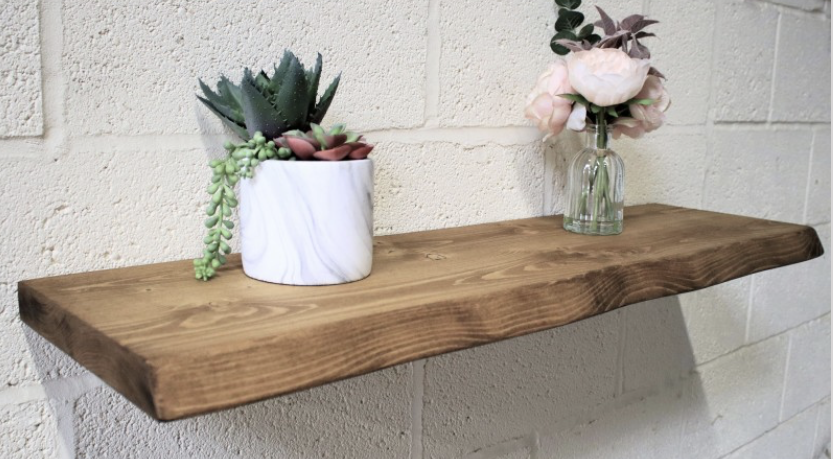
Live edge shelves highlight the wood’s natural shape and bring a unique organic feel to any room. Each piece is different, so installation must be adapted accordingly. First, examine the shape and thickness of your live edge shelf to decide whether floating brackets will be strong enough or if visible brackets are better. Hold the shelf in position and mark bracket points carefully on the wall. Drill pilot holes and insert the right anchors based on your wall type. Secure the brackets and mount the shelf. Because live edge shelves have uneven bottoms, focus on leveling the top surface rather than the bottom edge. This ensures a stable, balanced look that showcases the wood’s beauty.
Common mistakes to avoid
To get the best result and keep your shelf safe, avoid some frequent errors. Never skip using a spirit level – even slight tilts are very obvious. Use wall fixings designed specifically for your wall type and shelf weight; wrong fixings often lead to shelves falling off. When installing on plasterboard, always try to screw into studs or use strong anchors; relying only on plastic plugs is risky. Avoid over-tightening screws, which can damage wall plugs or cause them to spin inside the hole. Also, plan your shelf placement so it doesn’t block electrical switches, sockets, or door openings. Proper planning and attention will save you time and prevent accidents.
Styling tips after installation
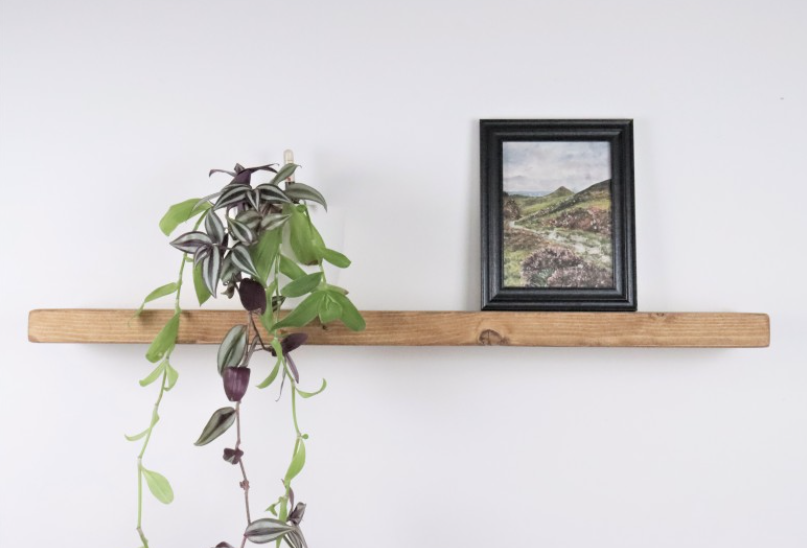
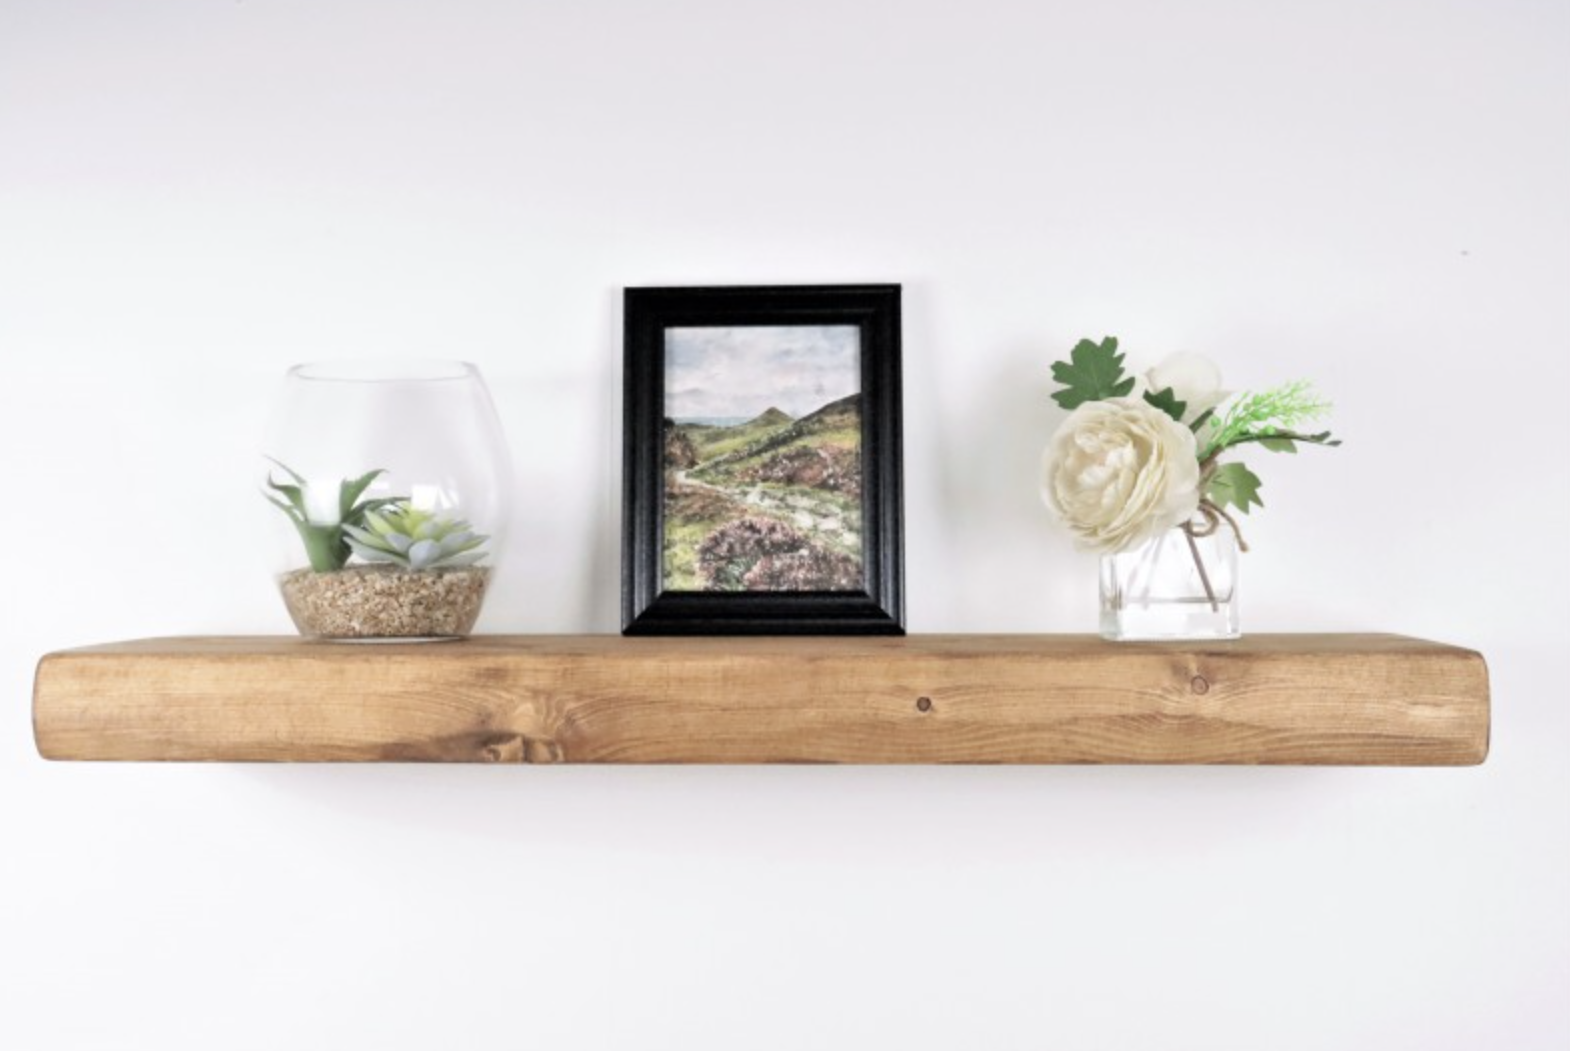
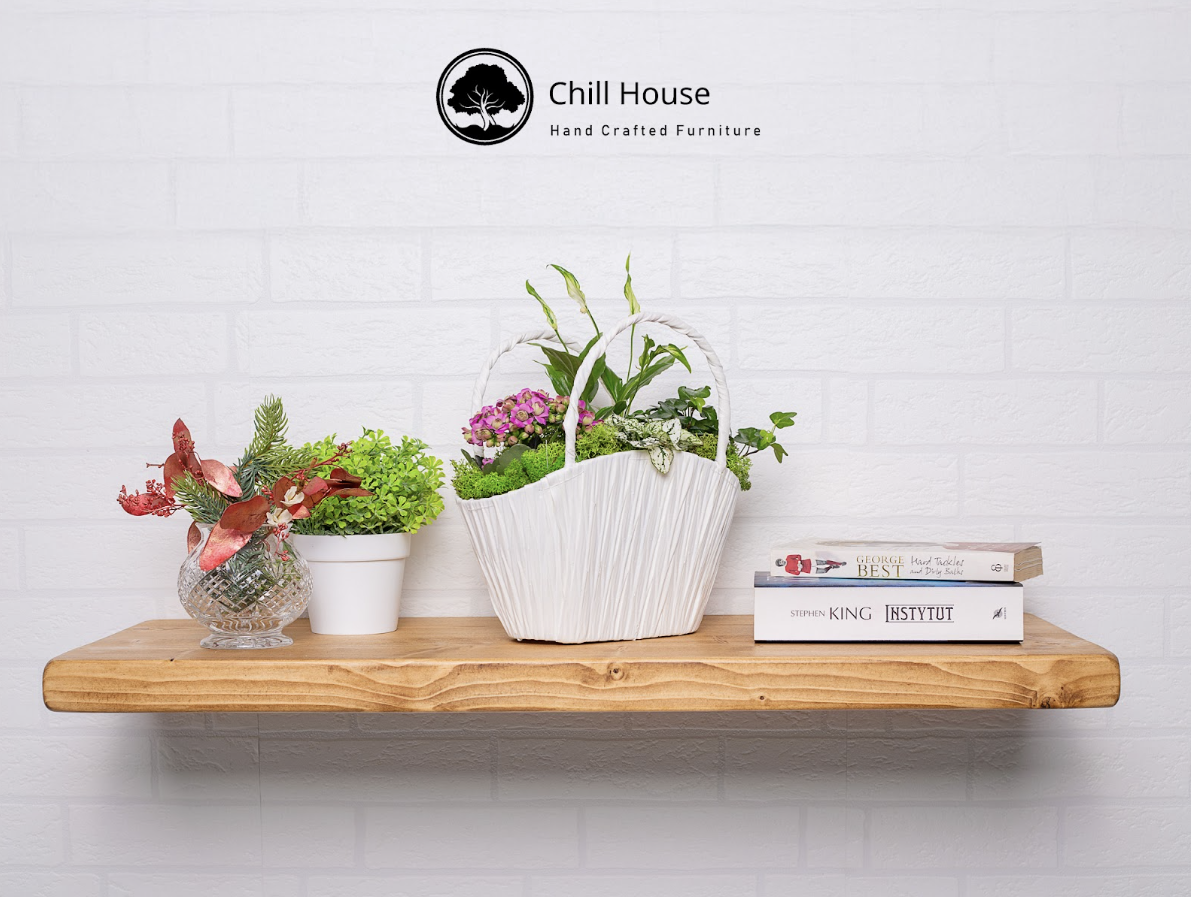
Once your shelf is securely installed, styling it thoughtfully will transform your space. Try grouping decorative items in odd numbers – three or five objects often look more natural and balanced. Mix different textures like ceramics, wood, glass, and greenery for visual interest. Use varying heights and shapes to create depth but avoid overcrowding; leave some breathing room so each piece stands out. Adding personal items like photos or small artwork leaning against the wall can add warmth. Change your display seasonally to refresh the look and keep your room feeling lively and inviting.
When to call a professional
While many shelves can be installed as a DIY project, some situations call for professional help. If you’re dealing with very hard surfaces like concrete or delicate tiles, or if your shelf will hold very heavy items, it’s safer to hire an expert. Also, complex wall structures, awkward locations like above stairs, or walls with pipes and wiring hidden inside require experience and specialized tools. A professional can guarantee a safe, clean installation and save you potential costly mistakes.
Final thoughts
Installing a shelf properly isn’t just about function – it’s about creating a beautiful, safe addition to your home that lasts for years. Whether you choose floating shelves for a sleek look, bracketed shelves for practicality, or live edge shelves to showcase natural wood, preparation and correct fixings are essential. Following these detailed steps will help you avoid common pitfalls and enjoy a stylish, sturdy shelf you can be proud of. If you want unique, handmade wooden shelves designed with care and quality, explore our collection and bring warmth and character to your living space.





Leave a comment