Every shelf in your home tells a story that goes beyond functionality. The books, ceramics, artwork, keepsakes, and...
- There are no more items in your cart
- Shipping
- Total £0.00

How to install your shelf the right way - A complete step-by-step guide for floating, bracketed and live edge shelves
List of contents:
- Introduction
- What tools and materials you'll need
- Understanding your wall type
- Step-by-step – How to install floating shelves
- Step-by-step – How to install bracketed shelves
- Step-by-step – How to install live edge shelves
- Common mistakes to avoid
- Tips for styling after installation
- When to call a professional
- Final thoughts
Introduction
Installing a shelf might seem straightforward, but doing it properly makes a big difference. With a bit of planning, the right tools and a clear understanding of your wall type, you can avoid mistakes and make sure your shelf stays secure. Whether you’re adding minimalist floating shelves to your living room, practical bracketed ones in the kitchen or showcasing a live edge shelf as a unique feature, this guide will walk you through every step. It’s not just about mounting wood on a wall – it’s about getting the details right so that your shelves look great, function properly and stay in place for years.
What tools and materials you'll need
To start, gather everything you’ll need. This will make the job smoother and avoid any surprises halfway through. Here's a basic list:
- Tape measure and pencil for marking positions
- Spirit level to make sure everything is straight
- Drill (cordless or corded) and suitable drill bits
- Wall plugs or anchors that match your wall type
- Screws (often included with your shelf)
- Screwdriver or a driver bit for your drill
- Stud finder (helpful for plasterboard walls)
- Masonry plugs for solid walls
- Dust sheet or masking tape to protect the area
Understanding your wall type
Not all walls are created equal, and the type of surface you’re working with affects everything - from which tools you’ll need to how secure your shelf will be. If your wall is plasterboard or drywall, you’ll need to use special anchors or toggle bolts, and it’s always a good idea to screw into studs for extra strength, especially with heavier shelves. For solid brick or concrete walls, you can rely on masonry plugs and screws, which offer a strong hold and reliable support. Stud walls are common in newer homes and work great for shelves as long as you find and fix into the studs using a stud finder. If your walls are tiled, such as in a bathroom or kitchen, go slowly with a tile drill bit and take care to avoid cracking the surface. Knowing what’s behind the paint will help you make the right installation choices and avoid frustration down the line.
Step-by-step – How to install floating shelves
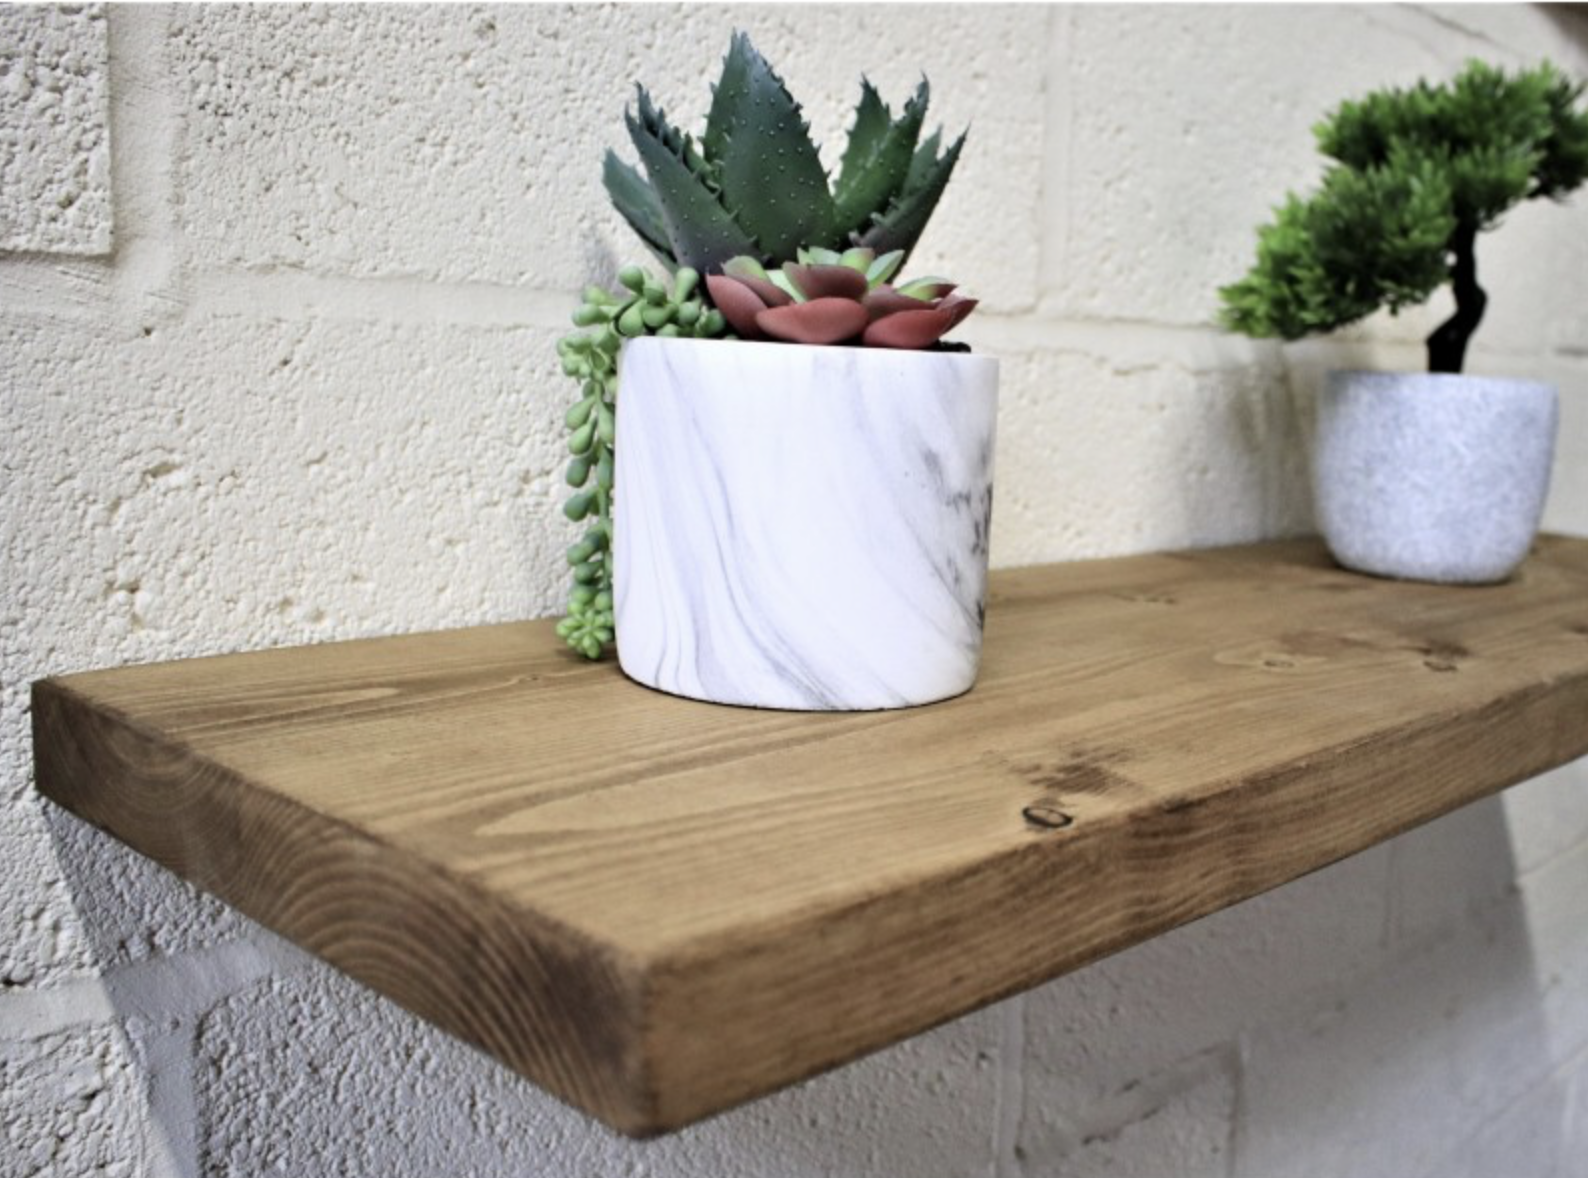
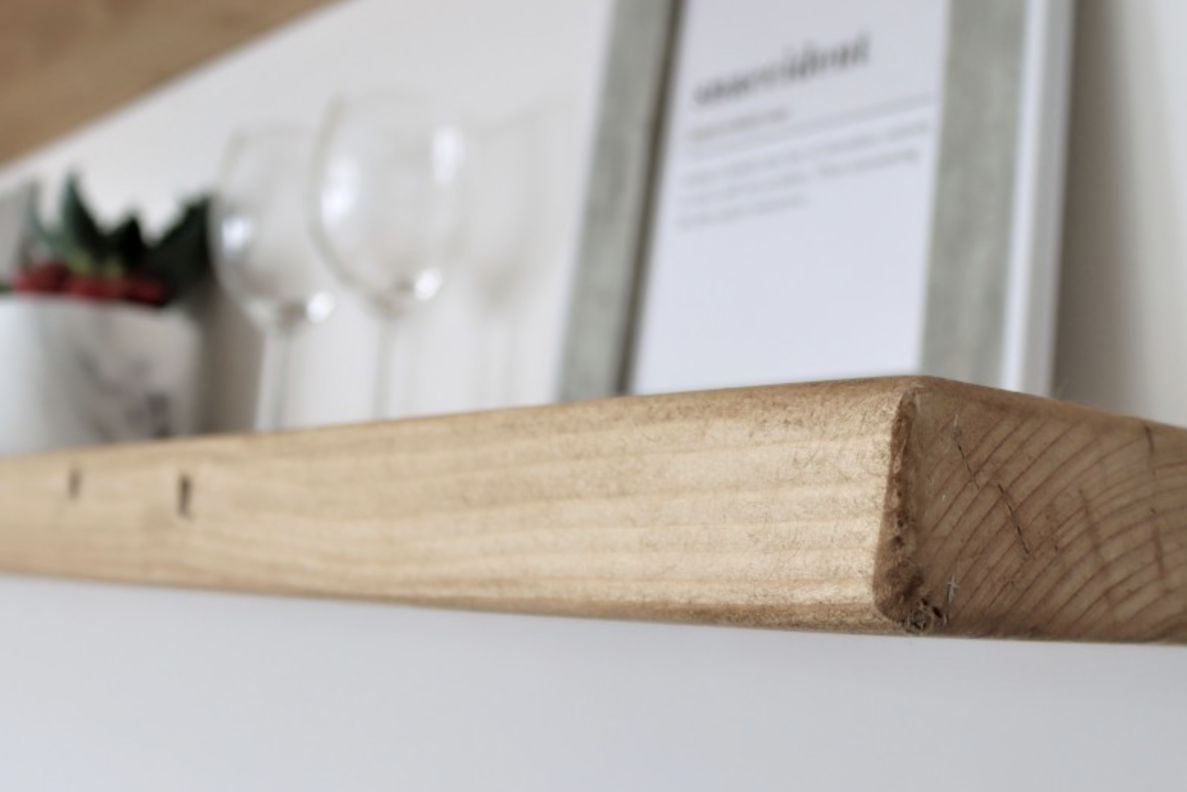
Floating shelves are a favourite for their simple and modern appearance. Since the brackets are hidden, precise installation is key.
- Measure and mark – decide where your shelf will go and mark a straight line using a level.
- Mark bracket holes – measure the holes on the shelf bracket and transfer the marks to the wall.
- Drill pilot holes - use the right drill bit for your wall type.
- Insert plugs or anchors – these hold the screws firmly in place.
- Secure the bracket – attach the bracket tightly using screws.
- Mount the shelf – slide the shelf onto the bracket rods.
- Double-check the level – make sure everything is still straight.
Take your time – even small misalignments are noticeable with floating shelves.
Step-by-step – How to install bracketed shelves
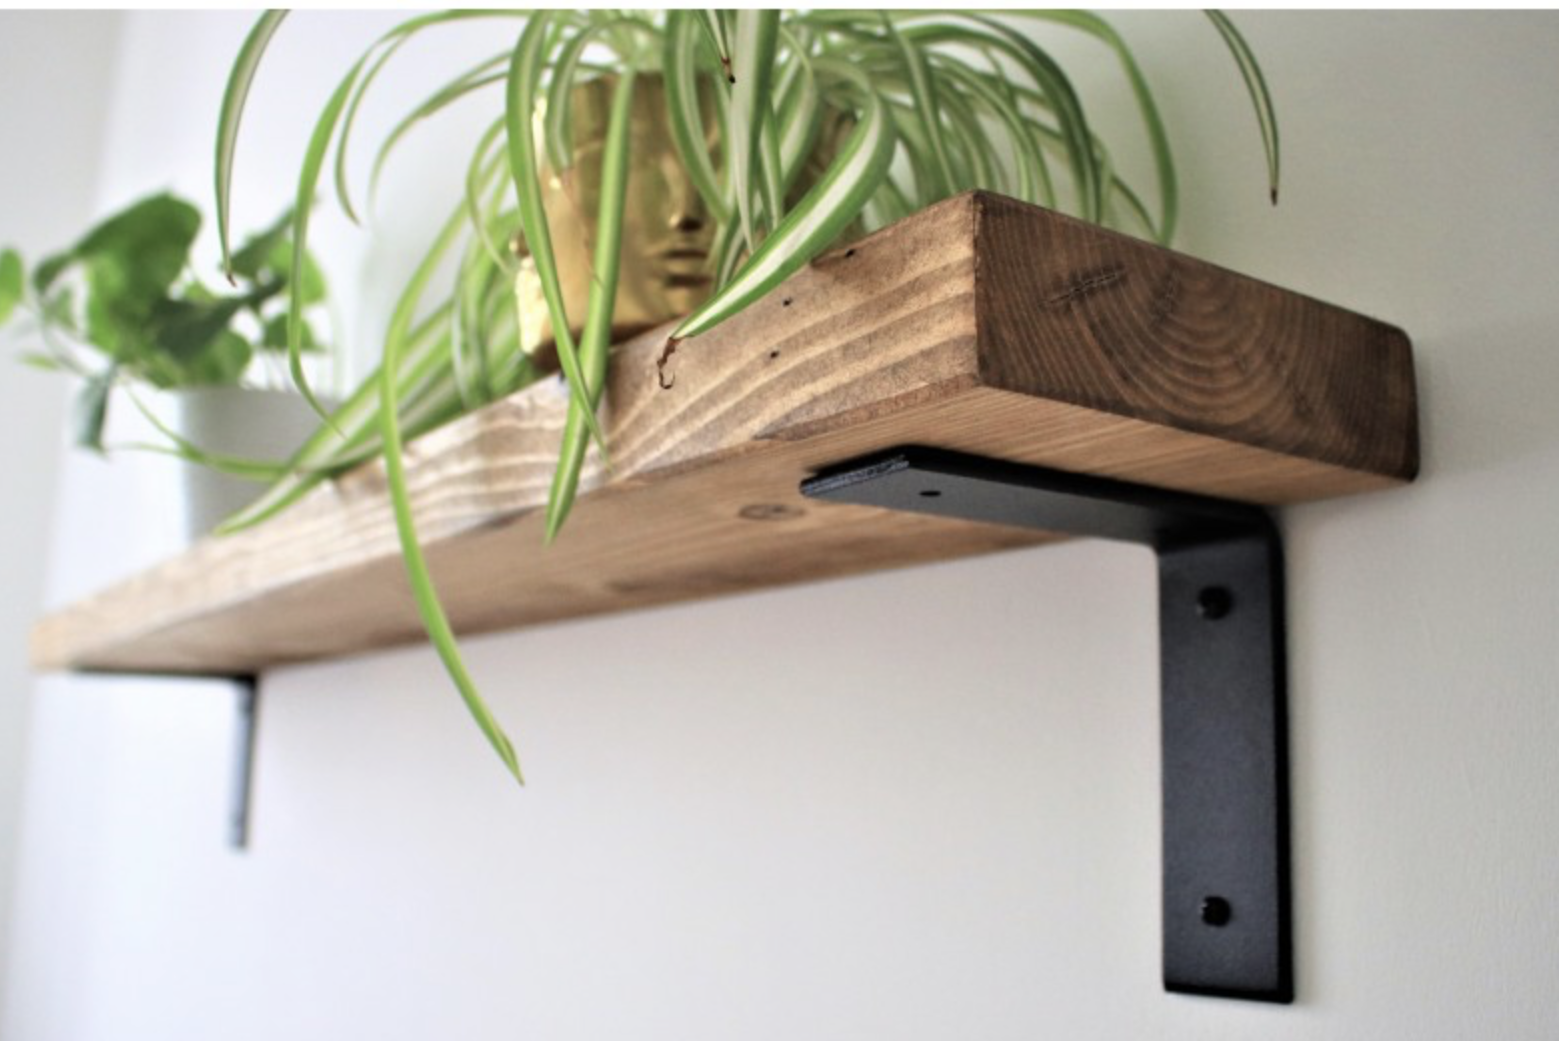
Bracketed shelves are strong and easier to adjust, and they can add a bold design element to your space.
- Plan bracket position – Decide how far in from the ends the brackets should go.
- Mark the wall – Hold the brackets against the wall and mark where the holes will be.
- Drill and plug – Drill holes and insert the correct wall plugs.
- Attach the brackets – Screw the brackets into place securely.
- Place the shelf – Position the shelf on the brackets.
- Secure the shelf – If your brackets allow, screw upwards into the shelf from below.
This type of shelf is great for everyday storage and works well in kitchens, hallways, and workspaces.
Step-by-step – How to install live edge shelves
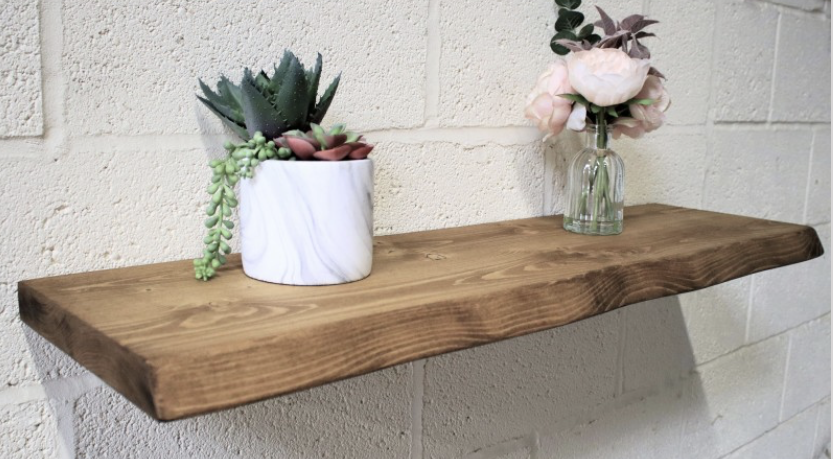
Live edge shelves are full of character and no two are the same. Because of their natural shape, they need a bit more attention during installation. First, look at the wood and check how flat and thick it is – this will help you choose between floating or visible brackets. For smaller, lighter pieces, floating mounts may be enough, but larger or heavier shelves usually do better with exposed brackets. Hold the shelf up to the wall to decide on height and spacing, then mark where your fixings will go. Drill carefully using the right bit for your wall type and fix your brackets securely. Since live edge wood often has an uneven bottom, level the shelf from the top surface instead. Once installed, a live edge shelf becomes more than storage – it’s a feature that adds warmth and character to any space.
Common mistakes to avoid
To get the best result, try to avoid these common errors:
- Skipping the spirit level: It’s a simple tool that makes a big difference.
- Using the wrong wall fixings: Make sure they match your wall and the weight you want to support.
- Not drilling into studs on plasterboard: Shelves will be stronger and safer if fixed into solid timber.
- Over-tightening screws: This can damage the wall or cause plugs to spin.
- Forgetting about surroundings: Avoid placing shelves where they block switches, sockets or doors.
Tips for styling after installation
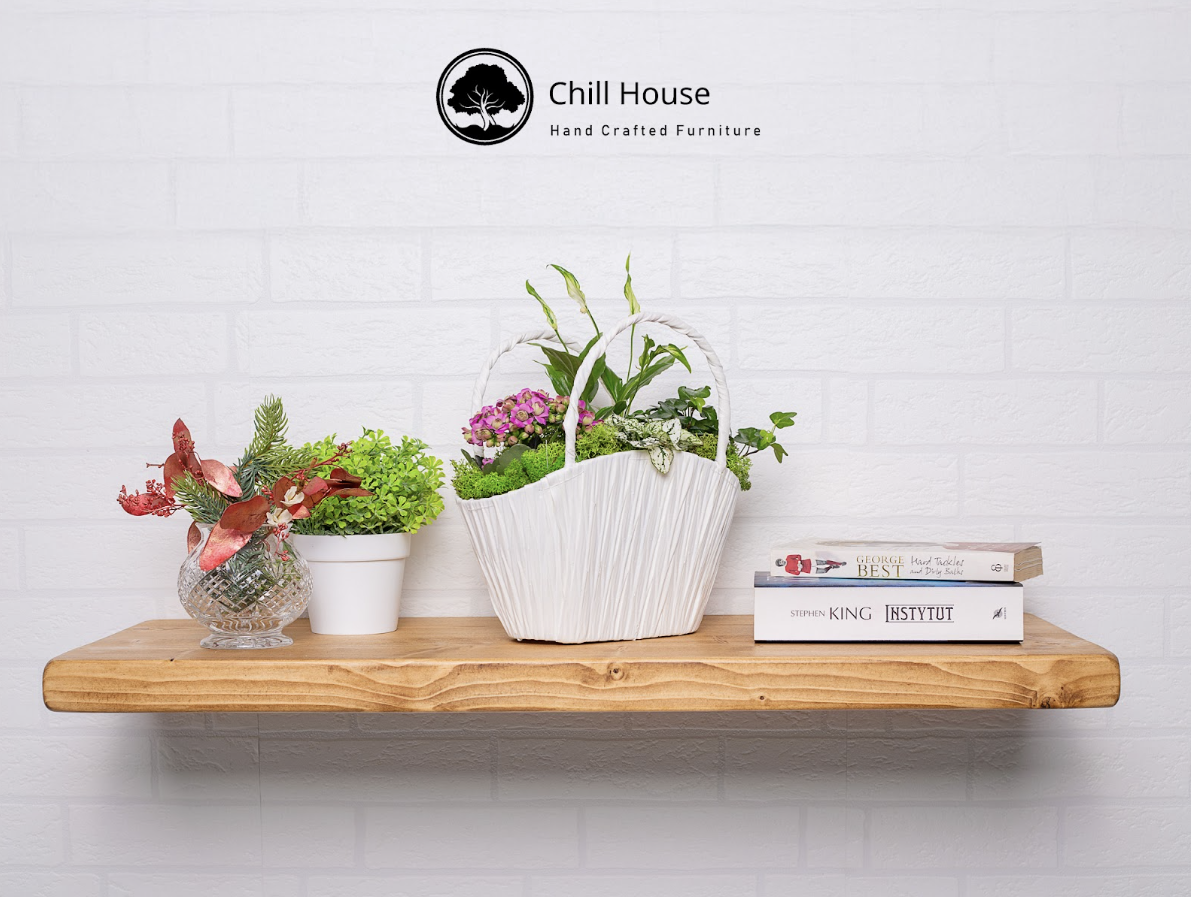
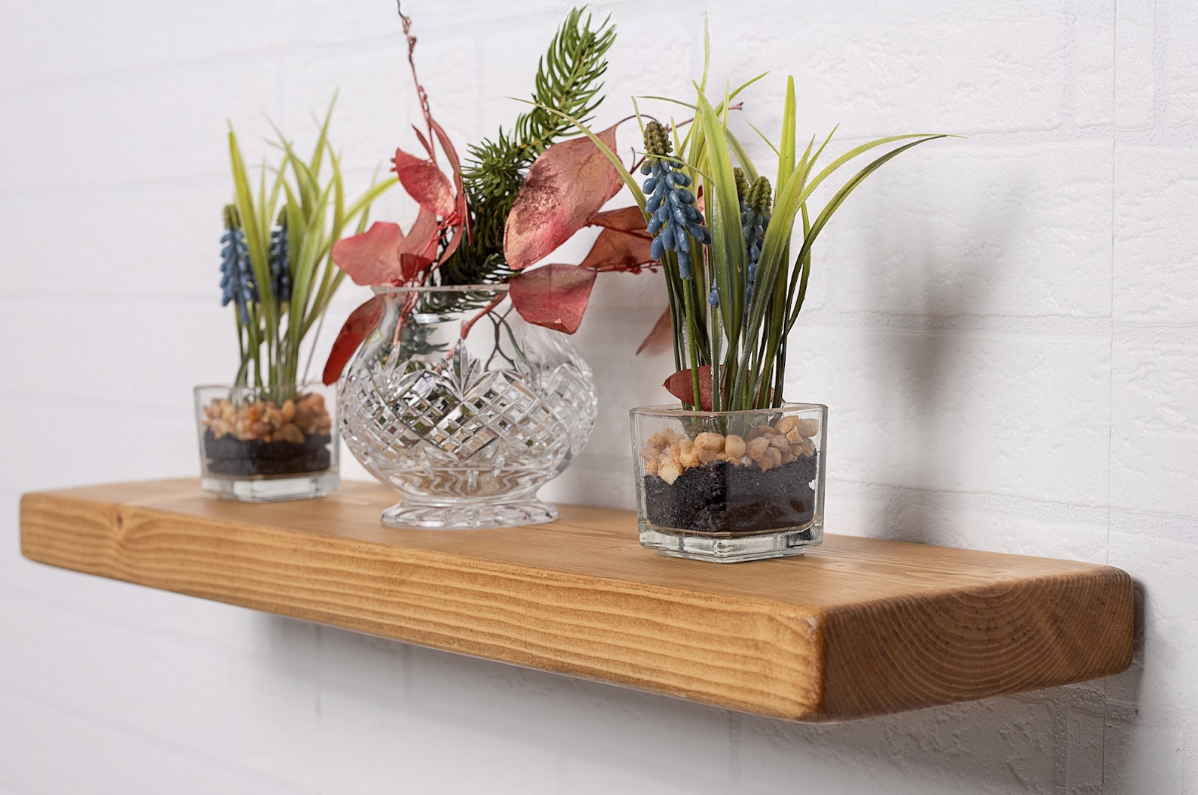
Once your shelf is up and secure, styling it can completely change the look and feel of your space. Try grouping objects in odd numbers to make the arrangement feel more natural. Mix heights and materials, a few books, a ceramic vase, maybe a trailing plant or framed photo can create a layered and balanced look. Avoid overcrowding the shelf; leaving some space open helps everything breathe. You can also lean small pieces of art or photos against the wall to add depth. And don’t be afraid to refresh your shelf with the seasons changing out just a few items can make a big difference.
When to call a professional
There are times when it makes sense to call in a pro. If you’re unsure about the tools, drilling into tricky materials like tiles or concrete, or you’re installing a very heavy shelf in a hard-to-reach place, a professional installer can save you time and avoid damage. The same goes for older walls or awkward layouts, like shelves going above stairs or over radiators. A skilled tradesperson will know the best fixings to use and make sure the end result is secure and neat.
Final thoughts
Mounting a shelf isn’t the most complex DIY task, but getting it right is important. With careful planning, the right tools and a little patience, you can install a shelf that’s not only functional but also elevates the look of your space. Whether it’s a floating design, a solid bracketed setup or a bold live edge piece, the way it’s installed makes all the difference. And if you’ve chosen one of our handcrafted wooden shelves, you’re already on your way to adding something unique and lasting to your home.





Leave a comment